
Why is my dryer not spinning is one of the most frustrating questions a homeowner can ask mid laundry day. You load the machine, press start, hear it hum or even feel heat building up, but the drum just sits there.
This usually points to a handful of common culprits: a broken belt, worn rollers, a bad door switch, a failed motor, or a tripped thermal fuse. The good news is that most of these issues can be diagnosed safely at home before you call a technician.
This problem tends to show up without warning, often in the middle of a regular wash day when you least expect it. One minute the dryer is running its usual cycle, and the next, you notice the clothes inside haven’t moved at all. Understanding the most likely causes upfront helps you avoid wasting time on the wrong fix.
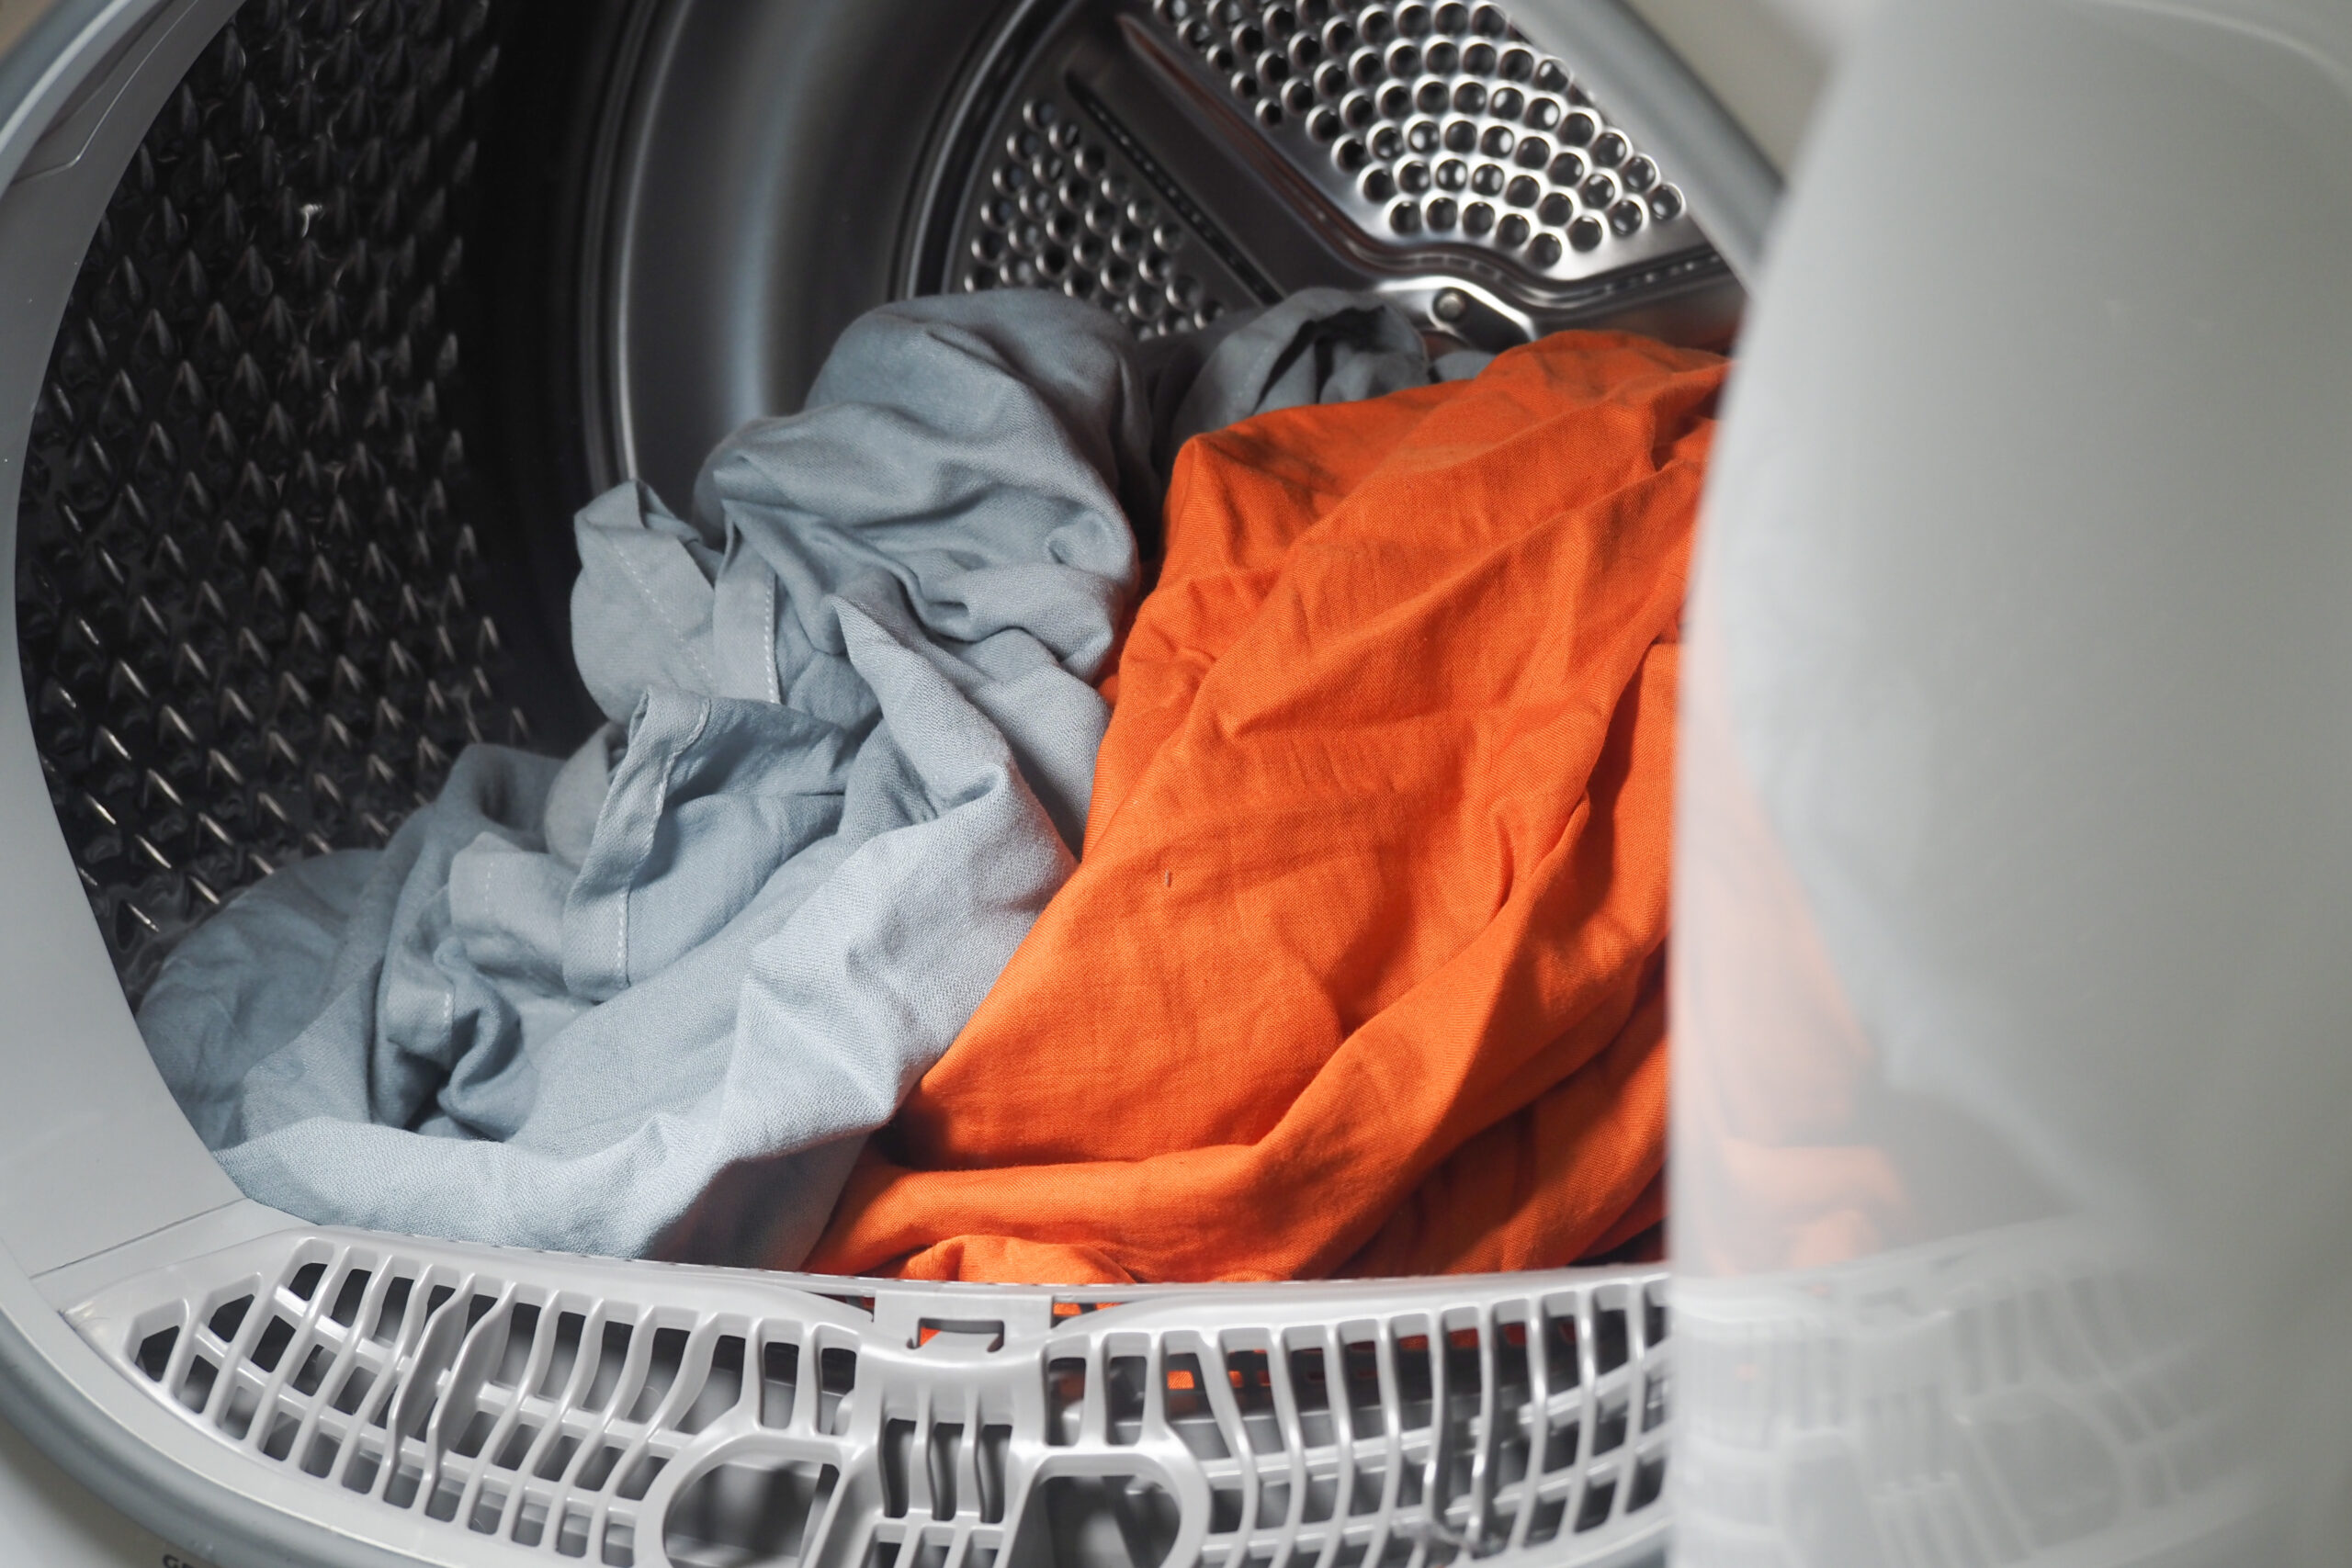
Colorful clothes are drying in a domestic dryer after washing.
Before diving deep, here is a fast overview of what usually causes this issue.
The drive belt wraps around the drum and connects it to the motor. If it snaps or slips off, the motor keeps running but the drum stays still.
Drum rollers support the drum as it spins. When they wear out, the drum drags, struggles, or stops turning completely.
If the door switch fails, the control board never gets the signal that the door is closed, so the cycle won’t fully start.
A weak or dead motor, or a blown start capacitor, can prevent the drum from getting enough torque to spin.
A clogged vent can overheat the unit and blow the thermal fuse, cutting power to the motor as a safety measure.
Understanding the basic mechanics makes troubleshooting much easier later on. Once you know how the parts connect, every symptom starts to make a lot more sense.
Most dryers use a single motor connected to a long rubber belt. This belt loops around the drum, the motor pulley, and an idler pulley.
When everything is working correctly, the motor spins continuously and the belt transfers that rotation smoothly to the drum without any slipping or noise.
Two or more rollers sit at the back (and sometimes front) of the drum. They let it rotate smoothly without putting all the strain on the motor.
Some models use sliding glides instead of rollers, but the purpose is identical: reducing friction so the drum doesn’t wear down the motor prematurely.
A blower wheel, connected to the same motor shaft in many models, pushes air through the drum to carry moisture out through the exhaust vent.
If this wheel becomes jammed or unbalanced, it can sometimes create enough resistance to affect drum rotation as well.
Door switches, thermal fuses, and thermostats exist purely to protect you and the appliance. If any of these trip, the dryer may refuse to spin even though everything else seems fine.
These components are intentionally designed to fail safely, which means a tripped switch is often a sign the dryer is protecting itself rather than truly broken.
Use this table to quickly match what you are hearing or seeing to a likely cause.
| Symptom | Likely Cause | DIY Friendly? |
|---|---|---|
| Motor hums, drum doesn’t move | Broken belt or seized motor | Belt: Yes / Motor: No |
| Loud rumbling, no spin | Worn drum rollers | Moderate |
| No motor sound at all | Door switch or thermal fuse | Yes |
| Drum spins then stops | Failing capacitor or overload | Moderate |
| Burning smell, no spin | Belt slipping or motor strain | Stop and call a pro |
| Dryer won’t start at all | Tripped breaker or blown fuse | Yes |
Always rule out the simple stuff before opening the cabinet. Skipping this step is one of the most common reasons people pay for an unnecessary service call.
Make sure the dryer is fully plugged in and the dedicated circuit breaker hasn’t tripped. A loose plug is more common than people expect.
If your dryer uses a 240-volt outlet, check that both halves of the double breaker are fully reset, since a partially tripped breaker can cause partial power loss.
Open and firmly close the door, listening for a distinct click. If the latch is bent or the switch is worn, the dryer may never register the door as closed.
Press the door switch directly with a finger while the door is open to see if you hear or feel the same click you’d expect from a closed door.
Some models have a Control Lock feature that silently blocks the start cycle. Check your owner’s manual to see if this setting is active.
This feature is often engaged by accident, especially in households with kids who may have pressed and held a button without realizing what it does.
The sound (or silence) the motor makes is one of your biggest diagnostic clues. Taking thirty seconds to listen closely can save you an unnecessary parts purchase.
A motor that hums steadily but never turns the drum often points to a broken belt or a seized roller creating too much resistance.
This hum is the motor trying to do its job, which is actually good news because it rules out a complete electrical failure.
A single loud click followed by nothing usually means the starting relay is engaging, but the motor itself cannot turn.
This pattern often points to a motor that has reached the end of its lifespan or a relay on the control board that needs replacing.
If there is no sound at all when you press start, suspect the thermal fuse, door switch, or a blown circuit board fuse first.
Complete silence is actually easier to diagnose than a humming motor, since it narrows the search to the electrical path rather than the mechanical drive system.
The belt is the single most common reason a dryer stops spinning. Most repair technicians will check this part first, before anything else, simply because of how often it’s the actual cause.
Unplug the dryer completely. Open the front or top panel according to your model and try turning the drum by hand.
Take a photo of the wiring and panel layout before removing anything, since this makes reassembly much faster once the inspection is complete.
If the drum spins very easily with little resistance, the belt has likely snapped or slipped off the pulley system entirely.
A drum that turns smoothly but offers zero resistance is a near-certain sign the mechanical link between motor and drum has been broken.
Look for fraying, cracking, glazing, or a belt that has come fully loose. A burning rubber smell right before failure is another telltale sign.
A snapped belt is often found lying loosely at the bottom of the cabinet, which confirms the diagnosis the moment you open the panel.
Belt replacement involves removing panels and re-threading the new belt around the motor pulley, idler pulley, and drum. It is doable for confident DIYers but fiddly for first-timers.
Make sure the ribbed side of the new belt faces the correct direction against the pulleys, since installing it backward will cause slipping almost immediately.
If the belt looks fine, the support system is the next suspect. These parts wear gradually, so the symptoms often build slowly before the drum finally stops altogether.
Flat spots, grinding noise, or a drum that wobbles when turned by hand all suggest the rollers need replacing.
You may also notice the noise gets louder over several weeks before the drum eventually seizes completely, which is the rollers finally giving out.
A seized idler pulley bearing often creates high-pitched squealing and can add enough resistance to stop the drum from turning at all.
The idler pulley’s job is to keep constant tension on the belt, so when it fails, the belt can slip even if it’s otherwise undamaged.
If one roller is worn, the other is usually close behind. Replacing them together saves you a second repair down the line.
This is especially true on dryers older than eight to ten years, where both rollers have typically experienced the same amount of wear.
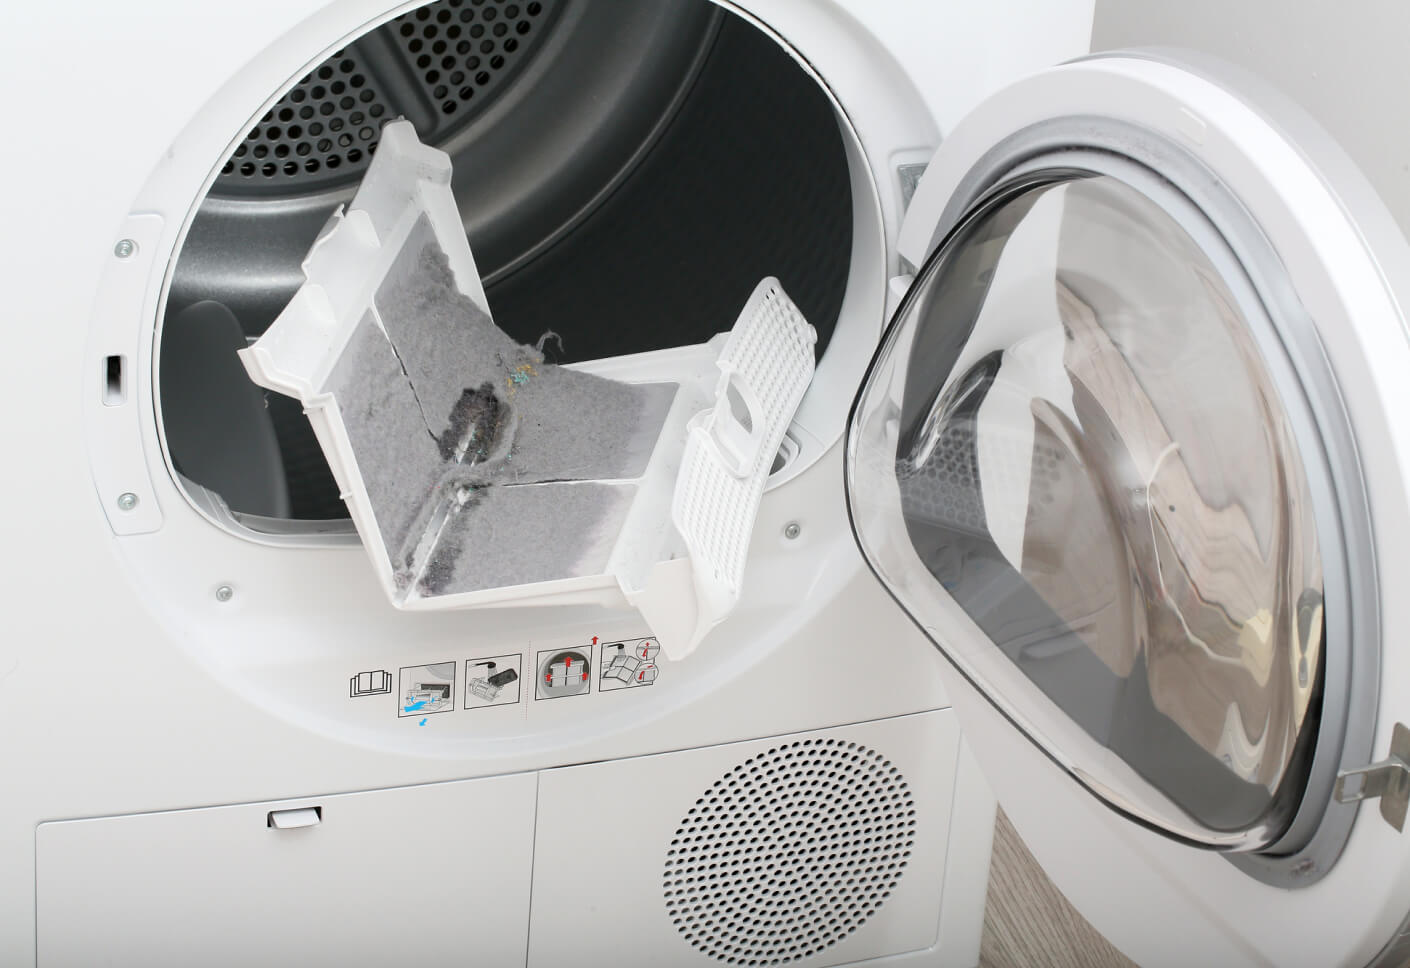
Overheating issues are sneaky because they look like a totally different problem. Many homeowners spend time checking the belt and rollers before realizing the actual cause was a blocked vent all along.
This one-time safety device cuts power to the motor if internal temperatures get dangerously high, usually due to a blocked vent.
Once a thermal fuse blows, it cannot be reset like a breaker; it must be physically replaced before the dryer will run again.
With the dryer unplugged, locate the fuse near the blower housing and test it with a multimeter on continuity mode.
A reading of zero ohms indicates the fuse is intact, while no continuity at all confirms it has blown and needs replacement.
Replacing a blown fuse without cleaning the vent almost guarantees the new fuse will blow again soon after.
Take the time to fully clean the exhaust duct from the dryer all the way to the exterior vent cap before reassembling the unit.
If everything mechanical checks out, the electrical components deserve a closer look. This is usually the point where DIY troubleshooting hands off to professional repair.
A motor that overheats, stalls, or runs intermittently before shutting off is showing classic signs of internal failure.
Many motors include a built-in thermal overload switch, which means a failing unit may run briefly, shut off to cool, then restart on its own.
Some electric dryers use a start capacitor to give the motor enough torque to begin spinning a full load. A failed capacitor often causes loud humming with zero rotation.
Without that initial boost of energy, the motor simply cannot overcome the resistance of a loaded drum, even though it still has power.
Testing motor windings and capacitors safely requires a multimeter and some electrical know-how, so many homeowners hand this step off.
Capacitors can also hold a electrical charge even when unplugged, which adds a real safety risk for anyone unfamiliar with appliance repair.
Sometimes the fix is smaller than you think, and this step is worth checking even before opening any panels.
Coins, zipper pulls, underwire, and small toys can wedge themselves between the drum and the cabinet, blocking rotation.
These small items often fall out of pockets during the wash cycle and get carried into the dryer along with the wet laundry.
Use a flashlight to inspect the gap around the drum edge, then carefully remove any debris with pliers or tongs.
Spin the drum gently by hand afterward to confirm the obstruction has been fully cleared before running another cycle.
Never force the drum in the wrong direction by hand, since this can knock the belt off its track and create a new problem.
If you’re unsure which direction is correct for your model, check the inside of the drum or the owner’s manual for an arrow or diagram.
This is the easiest fix on the entire list, and it’s worth ruling out before assuming a part has failed.
Too many heavy items can place excessive strain on the motor and belt, sometimes stalling the cycle entirely.
Bulky items like comforters and bath towels are especially prone to this, since they shift unevenly and create extra resistance against the drum.
Remove half the load and try running a short cycle. If the drum spins normally, overloading was likely the issue all along.
Going forward, try splitting bulky loads into two smaller cycles instead of one large one to avoid repeating the same strain on the motor.
This table breaks down which fixes are realistic for most homeowners.
| Repair | Difficulty | Tools Needed | Recommended For |
|---|---|---|---|
| Door switch test | Easy | None or multimeter | DIY |
| Removing a jam | Easy | Flashlight, pliers | DIY |
| Belt replacement | Moderate | Screwdriver, panel removal | Confident DIY |
| Roller replacement | Moderate | Screwdriver, new rollers | Confident DIY |
| Thermal fuse test | Easy-Moderate | Multimeter | DIY |
| Motor replacement | Hard | Multiple tools, wiring knowledge | Professional |
| Capacitor replacement | Hard | Multimeter, electrical safety gear | Professional |
| Control board repair | Hard | Specialized diagnostics | Professional |
A few non-negotiable rules before you touch anything inside the cabinet. Skipping these steps is how minor repairs turn into serious accidents.
Never inspect internal components while the dryer is connected to power, even if it appears off.
Some control boards retain a small charge even after being switched off, so unplugging at the wall is the only fully safe option.
For gas dryers, shut off the gas supply valve before removing any panels near the burner assembly.
If you ever smell gas during this process, stop immediately, leave the area, and contact your gas provider or a professional technician.
A burning smell combined with a stalled drum is a strong signal to stop immediately and call a professional.
This combination often indicates belt friction or motor strain that could escalate into a fire hazard if the dryer is used again.
Some signs mean it’s time to stop troubleshooting and pick up the phone, rather than continuing to test parts on your own.
This often indicates motor strain or belt friction that could become a fire hazard if ignored.
A technician can quickly identify whether the smell is coming from the belt, motor, or another component using specialized diagnostic tools.
If the dryer keeps tripping the breaker, an electrical fault inside the unit needs professional diagnosis.
Continuing to reset the breaker without addressing the underlying fault increases the risk of damage to your home’s electrical system.
If you’ve tested the belt, rollers, and switches with no luck, the issue is likely deeper in the motor or control board.
At this point, further disassembly without proper training can do more harm than good, so a professional opinion is the safer route.
A little routine maintenance goes a long way toward avoiding round two of this headache. Most of the causes covered above can be delayed or avoided entirely with consistent care.
This single habit reduces strain on the motor and prevents most thermal fuse failures.
It takes less than a minute and is one of the highest-impact maintenance habits for extending the life of your dryer.
A clogged exhaust duct is one of the leading causes of overheating and premature part failure.
If your dryer is taking noticeably longer to dry clothes than it used to, a clogged vent is often the first thing to check.
Stick to manufacturer-recommended load sizes to reduce wear on the belt, rollers, and motor.
As a general rule, the drum should never be more than three-quarters full to allow clothes to tumble freely.
A yearly inspection by a technician can catch worn rollers or a stretching belt before they cause a full breakdown.
This small upfront cost is often far cheaper than an emergency repair call after the dryer has already stopped working.
Different brands tend to show slightly different failure patterns.
| Brand | Common Spin Issue | Typical Fix |
|---|---|---|
| Maytag | Door latch and drive motor failure | Latch adjustment or motor swap |
| GE | Drive belt and capacitor issues | Belt replacement |
| Whirlpool | Idler pulley wear | Pulley replacement |
| LG | Door switch and control board faults | Switch testing |
| Samsung | Thermal fuse trips from vent buildup | Vent cleaning, fuse swap |
Knowing roughly what to expect helps you decide between DIY and professional repair.
| Component | Average Part Cost | Average Total Repair Cost |
|---|---|---|
| Door switch | $10–$30 | $80–$150 |
| Drive belt | $15–$40 | $100–$200 |
| Drum rollers (pair) | $20–$50 | $120–$220 |
| Idler pulley | $15–$35 | $100–$180 |
| Thermal fuse | $5–$20 | $90–$160 |
| Start capacitor | $20–$60 | $150–$250 |
| Drive motor | $80–$200 | $250–$450 |
| Control board | $100–$300 | $300–$600 |
These figures are general estimates and can vary based on your dryer’s brand, age, and local labor rates.
If a quoted repair cost approaches half the price of a new dryer, it may be more practical to consider replacement instead.
Use this short checklist to work through the process in order without missing a step.
If you reach the end of this checklist without finding the cause, it’s a strong sign the issue lies with the motor or control board.
At that point, scheduling a professional diagnosis will save you time compared to continuing to test electrical components without the right tools.
A humming motor with no rotation usually points to a broken belt, seized roller, or failed start capacitor. Unplug the unit and check the belt first.
Yes, replacing a drive belt is a moderate DIY task that involves removing panels and re-threading the new belt around the pulleys.
This often points to an overheating motor, a failing capacitor, or worn rollers creating too much resistance partway through the cycle.
No, continued use can overheat the motor, damage the belt further, and create a potential fire hazard, so it’s best to stop until inspected.
Worn rollers usually cause a loud rumbling or grinding noise and may let the drum wobble slightly when turned by hand.
A clogged vent or exhaust duct is the most common cause, since it traps heat inside the cabinet and triggers the safety fuse.
Yes, an overly heavy or bulky load can strain the motor and belt enough to stall the cycle, especially in older units.
Costs vary widely depending on the part, but belt and switch repairs are typically less expensive than motor or control board replacements.
Yes, a single click followed by silence often indicates a motor or starting relay issue that usually requires professional diagnosis.
Most manufacturers recommend cleaning the vent duct at least twice a year to prevent overheating and reduce the risk of part failure.
A dryer that won’t spin is almost always traceable to one of a few familiar culprits: a broken belt, worn rollers, a faulty door switch, a blown thermal fuse, or a struggling motor.
Working through these checks in order, starting with power and safety switches before moving to mechanical parts, helps you pinpoint the problem without guesswork. Many fixes, like clearing a jam or testing a switch, are well within reach for a confident homeowner.
Others, especially motor and capacitor repairs, are safer left to a professional technician. Regular maintenance, including vent cleaning and avoiding overloaded loads, will help you avoid this frustrating situation altogether in the future.