Clear bra is not really about appearance first. It is about preserving the original finish of a vehicle before wear becomes visible. Most paint damage happens gradually, tiny rock strikes, sand abrasion, bug acids, hard water spotting, and sun exposure that slowly dulls clear coat over time. A properly installed film creates a sacrificial barrier over vulnerable panels, helping the factory finish stay intact underneath.
Many car enthusiast are thinking: Does clear bra cover the whole car? Not always.
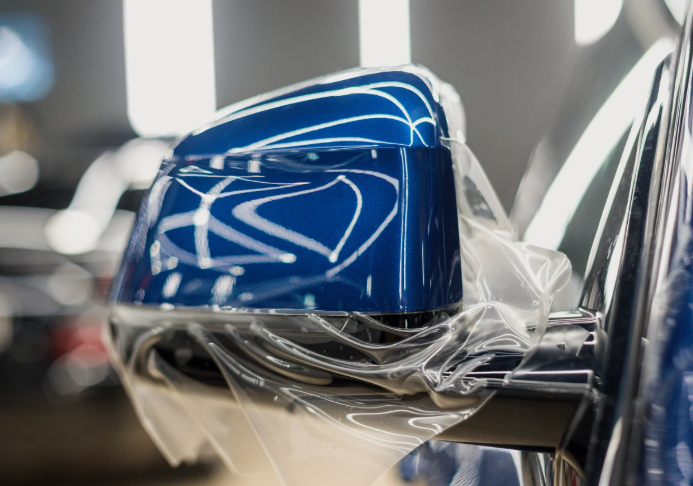
Many installations focus on high-contact zones like the front bumper, partial or full hood, mirrors, rocker panels, and door edges, while full-body coverage is typically chosen for luxury, exotic, or enthusiast-owned vehicles seeking maximum protection.
If you are evaluating a Paint Protection Film & Clear Bra Installer in Loveland, CO, it helps to understand that good installation is equal parts craftsmanship and process. Film should be applied to a properly corrected and decontaminated surface, edges should be cleanly wrapped where possible, and curing time should be respected so adhesion fully develops.
In the local market, KCL Creations is one example of a shop involved in paint protection film application, but the bigger consideration for any vehicle owner is knowing what quality workmanship actually looks like before investing.
Paint correction and preparation are where clear bra installations succeed or fail. This step gets skipped at budget shops, and it is the main reason PPF jobs fail early or look worse than the paint underneath.
Before any film is applied, the installer should:
The preparation step for most vehicles adds $100 to $500 or more to the total cost of the job, depending on paint condition and the amount of correction needed.
Clear bra is a wet application process. The installer uses a soap-and-water solution to lubricate the paint surface, which allows the film to be repositioned during placement before the adhesive sets.
The general installation sequence:
A full front clear bra installation on a standard sedan typically takes four to eight hours. Complex vehicles with tight body lines, large hood areas, and intricate front bumpers take longer. Full body installations can take multiple days.
Freshly installed PPF looks different from cured film. Water bubbles and slight haziness are both normal within the first 24 to 72 hours. This is the slip solution and water used during installation working its way out from under the film.
What to do and avoid during the curing period:
Larger bubbles that persist beyond one week typically indicate a contamination issue or an installation defect. Contact the shop for a follow-up inspection at that point.
Clear bra warranties come from two sources: the film manufacturer and the installer. They cover different things.
The manufacturer’s warranty covers film defects like yellowing, delamination, cracking, or bubbling that originate from within the film material itself. Premium brands typically offer five to ten years on film defects. That warranty only applies if the film is installed by a certified dealer.
The installer’s warranty covers workmanship defects: lifting edges, bubbles from improper installation, and areas that peeled because the prep or application was done incorrectly. Workmanship warranties range from one to five years, depending on the shop.
Ask any shop to show you both warranties in writing before you pay. A shop that cannot provide a manufacturer warranty certificate is not a certified installer for that brand, which means the manufacturer warranty may not apply to your installation.